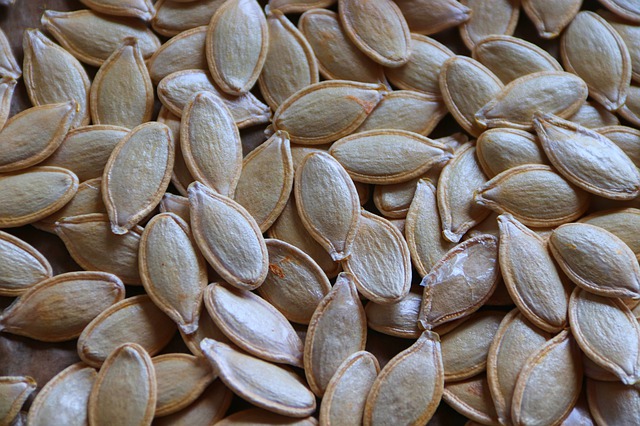
Aside from being a fantastic snack, pumpkin seeds also make carving pumpkins more enjoyable. The pumpkin seeds must first be cleaned to remove all of the pulp and strings before they can be consumed. Putting the pumpkin seeds in a basin of water will result in the seeds flopping up to the surface while the pulp will sink to the bottom, resulting in a simple and rapid technique for cleaning the pumpkin seeds.
Table of Contents
1. Assemble a work area to keep the pumpkin seeds from flying all over the place
Making your way through a pumpkin’s interior can be a dirty process. In order to avoid destroying anything, cover your table or work space with plastic or paper towels. This will make cleanup a lot less difficult.
2. Make a hole in the top of your pumpkin to allow the seeds to fall out
Cut a hole in the pumpkin’s lid large enough for at least your arm to fit through so that you can extract the seeds easily later. To carve a round circle around the stem of the pumpkin, you can use a knife or a tool from a pumpkin carving kit. When it comes to removing the seeds, the bigger the cover, the better.Depending on how large the pumpkin is, waiting until it has reached room temperature before chopping into it may help minimize the mess.
3. Take the pumpkin’s lid off and set it on a flat surface
You can simply pull the pumpkin up and set it to one side once you’ve carved a ring around its stem. With the pumpkin now hollowed out, you should have a hole in the top that is large enough to reach down inside and remove all of the seeds.
4. Remove the seeds from the pumpkin using a scoop or a metal ladle
Scrape the seeds and pulp out of the pumpkin with a scoop, ladle, or even a large spoon if necessary. Remove as much as you can by starting at the bottom and scraping up the sides of the pumpkin. The scoop that comes with the pumpkin carving kit can be used to scoop out the seeds if you have one at home.
Using a serrated knife, cut away the top of the pumpkin
Remember the inexpensive pumpkin carving kits that seem to appear on grocery store shelves earlier and earlier each season? If you’re carving with children, one of those will undoubtedly come in handy, as the flimsy little knife is slightly safer for small hands than a kitchen knife. A serrated vegetable knife, on the other hand, will suffice if you are cooking for one person. To the contrary, it will expedite and improve the overall efficiency of the task.
Using a spoon, scoop out the seeds with all of the goo on them.The situation becomes more complicated from here. Remove the majority of the mushy pulp and seeds using your hands, then scrape down the edges with a slotted spoon or ladle to finish the job.
5. In a large mixing basin, combine the seeds and pulp
Fill a large mixing bowl halfway with the pumpkin’s contents. The seeds and orange ooze will need to be completely soaked, so make sure you use a basin that is larger than you think you’ll need. Water should be added to the mixing basin.
6. Discard any pulp that hasn’t been separated into seeds
remove the seeds from the pulp by squeezing them between your fingers Separate the seeds from the rest of the materials. As for the pulp, you can do anything you want with it: throw it out, compost it, toss it over your fence, or, if you’re like me, leave it outside for your friendly local raccoons to discover.
7. Rinse the seeds thoroughly once more
Another rinse is recommended, but do not be concerned about any remaining pulp. It will have no effect on the roasting process, and it may even enhance the flavor of the finished seeds a little bit in some instances.
8. Allow the seeds to dry completely before storing them again
Spread an absorbent dish towel on top of the seeds after they have been thoroughly rinsed. Allow for a minimum of 24 hours of drying time before utilizing. You’re all set to roast now.
Pumpkin seeds: how to clean them
Pumpkin cleaning is essential if you want to acquire beautiful pumpkin seeds.Make a lid or cut your pumpkin in half with a sharp knife to get rid of the excess flesh. Use a metal spoon or an ice cream scoop to scrape and scoop out the seeds and fibres from the inside of the pumpkin: You may use a metal This can be done with a spoon or an ice cream scoop.
Seeds and fibres should be placed in a colander or a large sieve to be washed and rubbed. Remove the yellow/orange strings and discard them after thoroughly washing them under running water. Remember to cover the sink drain with a strainer to keep it from becoming backed up.
Pumpkin seed drying technique
Using a clean, dry kitchen cloth, spread out the seeds in a single layer once they have been well cleaned.
Allow for complete drying the next day
Check that they are no longer damp before seasoning and roasting them. If this is the case, they will steam in the oven rather than roast.
Remove the seeds from the pumpkin
Remove the top of the pumpkin and slice a hole around the stem at the top of the pumpkin to start carving. Separate the seeds from the pumpkin guts. Using your fingers, remove any strands or tendrils of pumpkin from the pumpkin seeds. Remove the strings of pumpkin from the seeds and place them in a colander, then rinse them under cold water to remove the strings of pumpkin. Dry the seeds by spreading them out on a baking sheet in a single layer after they have been rinsed.
