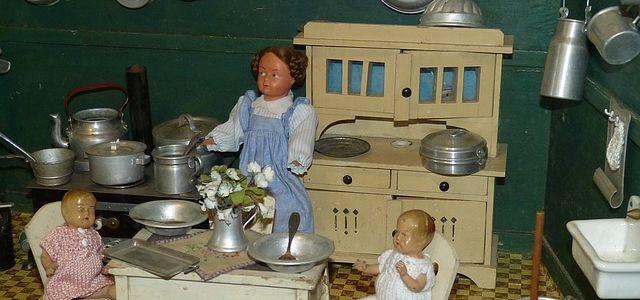
If you’re looking for a play kitchen that meets the specific needs of your child, it can sometimes be hard to find. There are many play kitchens out there, but there’s nothing like creating your own custom piece of furniture. You’ll learn what is needed to take a simple cabinet and turn it into a functional play area for any child. These days, there are a lot of activities as well as play kitchen sets available for kids.
Kids have a lot of fun when playing with these sets; however, electronic toys are frequently used by adults and they can be hazardous to kids. So, adults should find some ways to make the life of kids more interesting. One way, and perhaps the simplest way, is to make your own kitchen play set. In this blog, you will learn about an easy and effective technique for making your very own play kitchen from an entertainment center.
Table of Contents
Preparation
Dismantle the entertainment center. Remove all of the doors and the back panel. Remove any drawers. Remove any shelves you do not want to use, including all of the ones inside. Sand all of the surfaces, including the outside and inside of the doors and drawers. This will ensure a smooth finish. Paint or stain everything in your desired colors. Sand all of the surfaces, including the outside and inside of the doors and drawers.
Measure out where you want your burners, sink and faucet to be located on your countertop piece of wood. Drill holes for them to fit through, depending on which knobs you choose for them. Attach everything with screws from underneath so that it is secure from above as well as below.
Get the right tools and materials
The right tools and materials can help you make a play kitchen out of an entertainment center. This project is pretty easy, thanks to the fact that most entertainment centers have doors and drawers. However, it also means you’ll need some tools on hand to open up holes in the back for sinks, stovetops, and more. Here’s what we used:
- Measuring tape
- Cordless drill
- Circular saw
- Screwdriver
- Wood glue
- Staple gun
- Paint brushes
- Sandpaper
Paint the entertainment center
Paint the entertainment center using a high-quality paint brush. We used Valspar Chalky Finish Paint in the color Limestone, but you could choose any color that your child would like for their new play kitchen. After painting the front and sides of the entertainment center, we painted one of the back panels white to match our refrigerator. The other panel was painted black, to mimic our stove top.
Assemble the kitchen
The first step is to cut the top. You want it to be extra high so that he could stand inside the kitchen and play with it, so we used a table saw to cut off the right side of the top.
- To add an oven handle, usea drill bit that was about the same size as the screw use and drilled a hole in the top of the entertainment center where you want oven door handle.
- Then screw in a screw from underneath. Next, connectall of pipe pieces using PVC cement.
- Finally, attach hooks to the sides of doors so that they would hang on my pipes when not in use. Once the pieces are painted, assemble the kitchen. The three pieces should be the same height.
- Use wood glue and painters’ tape to hold the pieces together until the glue dries.
- If you want to be able to move your kitchen around, use a drill to make pilot holes in each piece and then attach them with screws. This will make it easier to take apart when you need access to any area behind the kitchen.
- If you’re painting with chalkboard paint, don’t paint over any areas that will be screwed together so that you can easily remove the screws.
Add details to the kitchen
- If you want a traditional style cabinet with a microwave and oven below and an open shelf above. For the bottom, usedthin plywood to create a “floor” for the space between the two upper cabinets.
- Measure and cut it so it would fit snugly into place between the cabinets and attached it to the sides of each cabinet with wood glue. Then, adda microwave facing directly toward the front of the play kitchen. I found an inexpensive one at a second-hand store for $8! It’s not working, but that doesn’t matter because it’s just decorative in this case.
- Then, screw it into place from underneath. Next, create an oven by constructing a simple frame out of 1x2s and attaching it to three sides of another piece of plywood.
- Use some chalkboard paint on one side of the plywood (the back) so kid can write or draw on that part if she wants to.
Conclusion
You can make a play kitchen from an entertainment center. It might be harder for you to find play kitchen cabinets to fit your entertainment center, but it can be done. If your entertainment center can be transformed into a play kitchen, so can your old entertainment center. Great minds think alike, and with the right components and a bit of ingenuity, you can make a play kitchen from an old entertainment center.
Making your own play kitchen is a great way to add interest and a new focus to your child’s play area. It can also provide hours upon hours of creative fun for the child, whether they are actually cooking or working at other jobs around the house. If you want to make one for your child, all you need is basic tools and supplies, which most people can find lying around the house.


