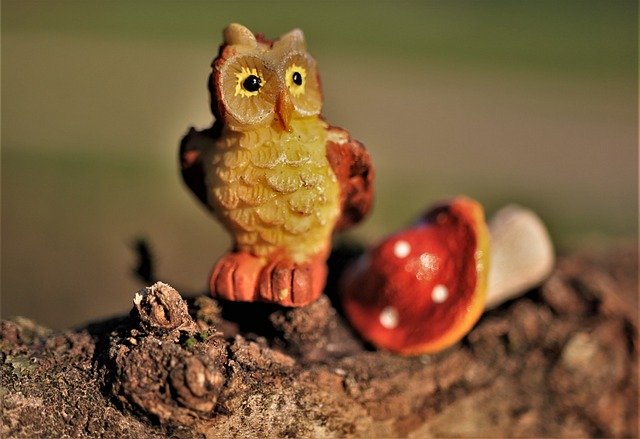
Growing mushrooms for fairy garden is a very rewarding hobby. The miniature look of the plants provides a unique perspective for novice and expert gardeners alike. The tiny size also allows small spaces on your lawn, patio or even in kitchen to take on a new life of wonder. These mushrooms can be easily grown using kits and starter kits that provide you with all the tools necessary to grow your own mushroom’s at home.
Table of Contents
Gather your Supplies
Gather your supplies. You will need a bag of polymer clay and a few tools, like a toothpick, paring knife, and some cookie cutters. You will also need an oven and some baking sheets.
Knead the clay before you begin. This is to soften it up so that it’s easier to work with.
Take a small bit of clay and roll it into a ball that’s about the size of a dime.
To create the mushroom base, use your finger or thumb to create an indentation in the top of the ball. If it doesn’t look quite right, use your toothpick or paring knife to smooth out the edges and make an even circle.
Use your other hand to gently push down on each side of your base until you have created a cone shape. It should be about one-quarter inch tall (give or take).
Make the Stalks
To create the stems of our mushrooms, roll out a piece of green clay. You will want to roll it into a long thin cylinder. You will cut this into smaller pieces and then shape them into the stems that you need.
To make the stalks, push a toothpick into the crumbled clay and shape into a mushroom stalk. Place onto a baking tray and bake according to your clay’s instructions.
To make the caps, use a small ball of clay to make each cap. Bake according to package directions.
Color the baked pieces with paint. Using acrylic paint and miniature paint brushes, paint your pieces in any way you choose. Some options include:
- Coating with one solid color, using brown or white as natural-looking choices.
- Coating with one solid color and then painting on dark brown dots for a spotted look.
- Painting on spots in different colors for a unique or whimsical look.
Make the Caps
To make the caps, we will start by taking a small ball of red clay and squishing it flat on the bottom side. Then turn it over and work your fingers around the outside edge of the cap to create a lip on it. Then, press your fingers gently into the center of the cap to form a little indentation in it.
Prepare the Caps.
1. Knead clay until it is soft and easy to work with.
2. Roll out clay between your hands like you would a ball of play-doh. Flatten one end to form the bottom of the mushroom cap. (it should look like a circle with a flat bottom)
3. Pinch in the sides of your flattened circle to create the dome shape of a mushroom cap. (You can try rolling it between your hands again to make the shape perfectly round, or you can leave it as is for a more rustic look.)
4. Make an indentation in the center of your cap using either your finger or a pencil or pen. (This step is optional.)
5. Bake clay according to directions on package. (I baked mine for 15 minutes at 275 degrees Fahrenheit.)
Glue the Mushroom Pieces Together
Glue the mushroom pieces together.
Put a bead of glue on the bottom edge of one of the large mushrooms and press it onto the smaller mushroom. Repeat on all three mushroom pieces. Let it dry.
- Spray paint the mushrooms white.
- Apply a coat of craft glue to the entire surface of each mushroom and sprinkle with glitter. Let dry.
- Push the ceramic mushrooms into your potting soil or moss in your fairy garden.
Add the Flock to Your Mushroom Caps and Stalks
First, gather the supplies. You’ll need:
Styrofoam balls – the size depends on how big you want your mushroom caps to be. They come in a variety of sizes and are easy to cut if they’re too big.
Wooden dowels – depending on the size of your Styrofoam balls, you can use a variety of thicknesses. You can also cut them down if they’re too long. If you don’t have dowels, twigs will work just as well (maybe even better).
Hot glue – this is important because it will hold everything together while providing an extra layer of durability.
Felt – this is what you’ll use to make the mushroom caps look fuzzy. It comes in a variety of colors and is easy to cut into whatever shape you need.
Paint – the color will depend on what type of mushroom you want to create. I used white for my mushrooms, but pink and red are also popular for fairy garden mushrooms.
The first step is to attach the wooden dowels to the Styrofoam balls using hot glue. The Styrofoam balls should act as your mushroom caps and the dowels should act as your mushroom stems.
Add some Sparkle to your Fairy Garden with Glitter and Paint
If you love mushrooms, don’t stop at just the real ones. These miniature mushrooms are perfect to add to your fairy garden, vivariums and terrariums. These little mushroom caps can easily be turned into fairy houses by adding a stem from a small twig or piece of driftwood. Paint the caps with craft paint and then decorate them with glitter and rhinestones to make them pretty enough for your fairies.
Last Words
Making miniature mushrooms and other plants for fairy gardens is easy when you have the right materials. You can save money by creating your own materials or purchasing pre-formed ones.
