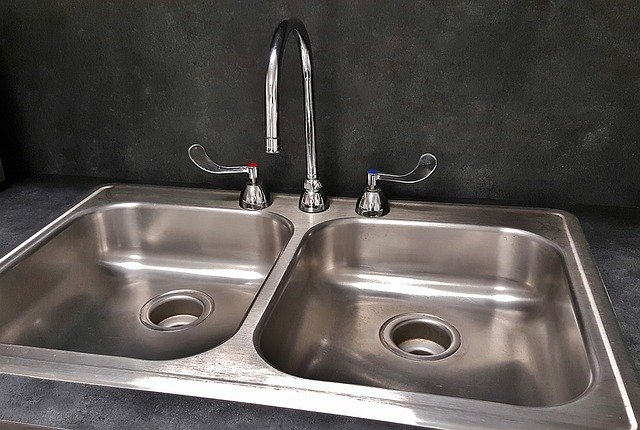
The kitchen is one of the busiest spots in your home. It’s where you prepare meals, mix drinks and create all kinds of fun dishes. It’s also where you wash the dishes, sweep up messes and mop the floors. If a small leak or damp spot forms because of damaged pipe or countertop, it can become a major headache. Using caulk to fix those leaks is quick and easy, too.
Caulking a kitchen sink can be difficult because there are many things to think about. First, you have to assess the situation and see if you can use tubes or tubs of premixed caulk. If not, you have to get the correct materials. Finally, you have fill in any gaps between the wall and the sink, making sure it is level; otherwise, water will leak out when it is running.
Table of Contents
Turn off the water
- Before you start, clean the area to be caulked with a strong household cleaner that will kill mold and mildew. Let the area dry completely before continuing. Next remove any old caulk with a razor blade or scraper.
- To apply the new caulk, cut the tip of the caulk tube at an angle to make an opening that is larger than you think you will need. The size of the opening can determine how thick the bead you lay down will be so it’s better to make it bigger than smaller.
- Place a piece of tape on either side of the area where you are going to apply the caulk so that when you remove it after applying the caulk you will have straight lines instead of rounded ones.
- Place a tube in your caulking gun and squeeze out some caulk on scrap paper or cardboard until the tip is coated with caulk. Press.
Clean the area
- Clean the area you are going to caulk with soap, water and a brush or some steel wool.
- Cut the tip of the caulk tube at an angle, leaving an opening that is equivalent to a space of approximately 1/8 inch.
- Place the nozzle tip of the tube into the sink joint and press down on the gun trigger to allow a small amount of caulk to come out and form a bead.
- Wipe away excess caulk with a moist rag. Make sure that any moisture left on the rag is wrung out so it does not drip into your freshly laid bead of caulk.
Mask off everything
- The first step to caulking a kitchen sink is to mask off everything that you don’t want to get caulking on. Use tape or old newspaper. If you’re caulking the sink where it meets the counter, then you’ll need to remove the molding and mask off the counter around the edge of the sink.
- Cut the tip of your caulk tube at a 45-degree angle with a utility knife. You want to cut it with a small hole so that you can control the application of the caulk. Insert into your caulking gun and pierce inner seal on tip of tube.
- Place in sealant around sink and begin applying pressure to caulk gun squeezing out an even bead of caulk.
Cut the tip of your caulk tube
- Cut the tip of your caulk tube at an angle. The hole should be about the same size as a pencil.
- Use a caulk gun to apply the caulk to the seam. You can use your finger to smooth out any excess caulk.
Press down on the tube
“Caulking a kitchen sink is a great way to make your kitchen more sanitary, prevent water damage, and improve the overall appearance of your sink. To caulk a kitchen sink, you will need a tube of silicone caulk, painter’s tape, and a caulking gun.
- First, make sure that the area around your sink is clean and dry.
- Then, run a line of painter’s tape around the edge of your sink to ensure that you get an even line of caulk.
- Next, snip off the end of the caulking tube and secure it in the caulking gun.
- To apply the caulk, press down on the tube with even pressure as you apply the caulk.”
If you are applying the caulk in long stretches, like a bathtub, work in sections and smooth out each section before moving on
- To ensure your caulk job looks as good as possible, use a damp paper towel or rag to wipe off a small, 2-inch strip of the caulk from the tube. This gives you a uniform bead, so you don’t have to worry about the start of the caulk line looking different from the rest.
- Start at one end of your surface and squeeze a steady stream of caulk into one corner.
- Drag your finger along the seam where you’re applying it, going all the way around the project.
Conclusion
If you’re dealing with a leaky kitchen sink, fixing it is probably much cheaper than buying a new one, especially if you take the time to caulk and seal the sink. While replacing the drain assembly may be necessary in some cases, it’s worth walking through this process before calling a plumber or buying parts for your sink.
If you’re experiencing leaking from below the sink, you may need to remove the stopper, clean out anything that may have collected around it, and replace the washers. Without proper support around the stopper area of your sink, water can trickle down between the sink and counter and seep out at that point.
Caulking a kitchen sink seems like a tedious process, but it’s actually quite simple once you’re able to minimize the mess and get through the initial preparation stage.
