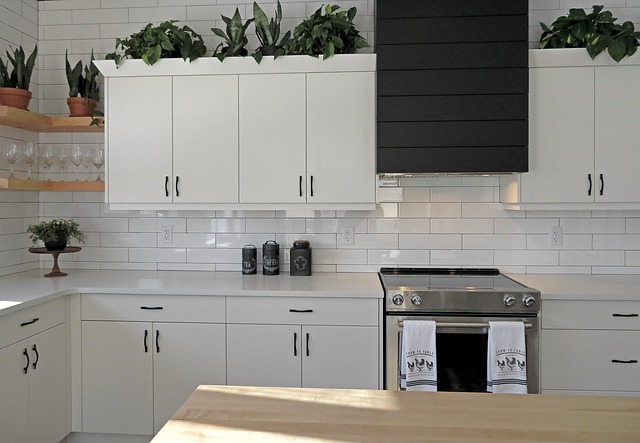
Backsplash is a great addition to the kitchen. It can help add value to your kitchen and they are not just for professional designers. A lot of people are looking to change the current look of their kitchen, and many times start by replacing their kitchen backsplash tile. Installing backsplash is not hard if you spend some time planning and coordinating it right in the first place. By following a few steps and having accurate tools along with a bit of patience; you will be able to hang a great looking new tile backsplash in no time at all.
Installing a backsplash can be a perfect solution to decorate your kitchen and make it look more beautiful and elegant. However, if you are dealing with a lot of products and designs, the process can seem quite difficult. But here you can find some tips that will help you choose the right backsplash for your kitchen.
Table of Contents
How to prepare to install kitchen backsplash
Before you begin, select the tiling pattern you want. A straight stack bond is the simplest and most common pattern. A brick or running bond pattern requires cutting some tiles lengthwise to fit the width of the backsplash and has a more rustic look.
Measure the wall, including all outlets, windows, and seams where cabinets meet walls or other cabinets. Transfer measurements to graph paper and lay out your backsplash design (if it’s not a simple stack bond.)
Remove the old backsplash and clean the surface
If you’re replacing an existing backsplash, use a putty knife to remove the caulk from around the countertop. Remove any residue with mineral spirits, then scrape off the old backsplash with a 5-in-1 tool or putty knife.
Measure the area
If you are installing a full-wall backsplash, start by measuring the width and height of the wall. If you are installing a partial backsplash, such as one that runs between your countertop and upper cabinets, take measurements to determine the height and length of the space.
Layout your design and start cutting
Layout your design. Before you begin cutting tiles, you need to know how you are going to place them. If the tile is being placed around electrical outlets, make sure you have the correct placement of these outlets in mind before cutting any tiles. You may also want to use a level and measuring tape to help determine where you will install your tiles. This way, when it comes time to cut the tiles and install them, you will be ready with all of the correct measurements in mind.
Start cutting tiles. Once you know where all of the tiles will go, start by measuring out the size of your first tile. Mark this line with a pencil on the back of the tile. Place a ruler on the line and draw another line connecting the two points of your previous pencil marks from one side of the tile to another.
Install the first row of tiles
Working from left to right, mark a line on the wall as a guide for the first row of tiles. This line should be level and parallel to the countertop (or floor, in case of a backsplash). Place spacers against the tile to set your spacing for the grout lines.
Work your way up, not down or side-to-side
To install the tile, start at the center point of your backsplash and work your way up, not down or side-to-side. Most backsplashes require that you apply adhesive to a small area of the wall and then press the tile firmly into place with a slight twisting motion. This will help eliminate air bubbles and prevent tiles from sliding out of position while drying.After you have installed a few tiles, it is important to check that they are level using a spirit level (a small handheld device used to check the horizontal position of something.) If your tiles are not level, use shims or spacers between them to ensure they are straight.
Apply grout in between tiles
Now that the tile is in place, you will need to apply grout to fill in between the tiles. Mix the grout according to the manufacturer’s instructions. Most premixed grouts require only water to be added. The consistency should be that of thick oatmeal.
Apply the grout onto the tile with a rubber float or trowel. Hold the float or trowel at a 45-degree angle and push it diagonally across the joints, forcing some of the mixture into them. Don’t worry if some of it smears on top of the tiles; you can easily clean it off later. After several minutes, wipe off any excess with a wet sponge, refreshing it often so that you’re not smearing grout across already cleaned tiles.
Conclusion
Installing kitchen backsplash is an easy job for a DIY homeowner if you are patient.Once you have carefully picked out backsplash tiles and gathered the materials that you need to make your tile installation project a success, you are ready to begin. Most of the backsplashes in the market are made of ceramic which is sturdy as well as durable. Hence, they make an excellent choice for kitchen walls. When installing ceramic tiles be sure that you follow the special steps for tiling.
Many homeowners are looking at various ways to improve their homes. Adding a backsplash in your kitchen is a solid way to modify its appearance and make it look more like a custom home. It will add value to your home and it is something that you can do yourself if you follow these simple steps. You can have a beautiful and durable floor in your kitchen in a day or two. The only important thing is that you should pay attention to all the details and instructions.
