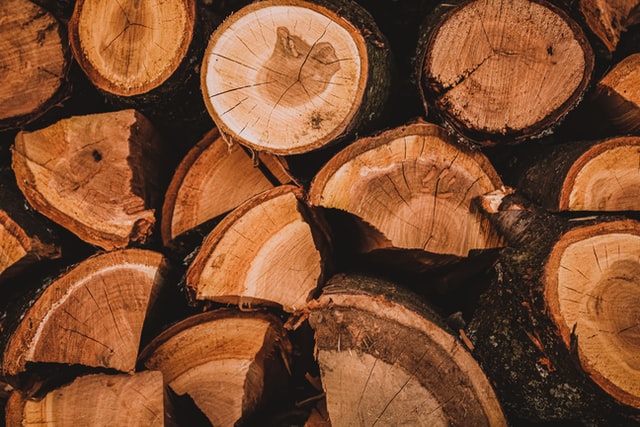
Drying wood is one of the most important steps in wood carving. To be able to carve wood is a relatively easy process. It consists in removing parts of the wood that are not necessary, with the help of a specialized tool, like a craft knife or an axe. Wood carving can be divided into two categories: soft (which includes elm, horse chestnut and willow) and hard (beech and pine). In order to be able to work on these types of woods, they first have to be dried at home, according to certain rules.
Drying wood is a process that allows the wood to be carved into a final project. The goal of drying the wood is to allow the moisture in the wood to get out and this takes about 2 months.
Table of Contents
Collect the wood.
It is best to carve green wood, which has a high moisture content. As wood dries it shrinks and warps, making it harder for you to work with. The best wood to carve is aspen, basswood or butternut, as these woods are soft and easy to carve. Cherry, oak and walnut are harder woods that are better suited to experienced carvers. For beginners who want a challenge, try carving tupelo or cypress.
Heat the wood in an oven for about one hour at 190 degrees Fahrenheit (88 degrees Celsius). This will cause the wood to crack, which helps with the drying process. Wood should be turned every 15 minutes during this process.
The oven should be turned off and opened slightly to cool down the interior before removing the hot trays of dried wood. This can take between one and three hours depending upon how well ventilated your home is and how much cooling is needed inside the oven.
Place the now crackled pieces of dried wood outside to dry out naturally in a well-ventilated area protected against rain or snowfall. The pieces should remain here for between one week and several months depending upon their size and thickness prior to beginning any carving work on them.
Cut and split the wood.
The first step in drying wood for carving is splitting the log into more manageable pieces. This can be done with a hammer and wedge, or a chainsaw. Make sure that the cut you make across the grain is clean and straight. Place each piece on a flat surface to ensure they don’t roll around as you work.
Wrap the wood in plastic.
Find an area that stays above freezing and wrap each piece in plastic. Wrap the ends separately if possible, otherwise make sure that you press down on the ends to squeeze out any air pockets so that water can’t get trapped inside.
Store the wrapped wood in a cool place for several weeks or months.
Wait until your wood has been wrapped and stored for at least 8 weeks before continuing with drying it out further. This is patience over impatience because if you do this too soon, your wood will crack even worse than it already has.
Air-dry the Wood.
Cut your wood into small pieces that are all around 2 inches (5 cm) thick. Stack your cut pieces of wood on top of each other so that they form a rectangular stack against a wall in a warm location, then leave them alone for at least 24 hours to air-dry. While air-drying is the most common method for drying wood for carving, it can take weeks or months for even small pieces of wood to completely dry out this way
Monitor the drying process.
Lay the wood on a surface that provides good airflow. Wood is dried by the evaporation of water, but moisture can only evaporate when it comes in contact with air. If the piece of wood is resting against a carpet, concrete or other material with poor air flow, it will not dry as efficiently.
If you are making a very large piece that cannot be placed on a flat surface, you can place it upright on some saw horses or other supports. However, if you do this, make sure that no part of the piece touches any other part of it. This will prevent cracking and splitting due to uneven drying.
Use fans to increase the rate of drying. Drying time can be significantly reduced by using electric fans to blow air over the wood and accelerate evaporation.
Last Thoughts
Wood carving is one of the oldest arts in human culture. It is a form of woodworking by means of a cutting tool in one hand or a chisel by two hands or with one hand on a chisel and one hand on a mallet, resulting in a wooden figure or figurine, or in the sculptural ornamentation of a wooden object. The phrase may also refer to the finished product, from individual sculptures to hand-worked mouldings composing part of a tracery.
The making of sculpture in wood has been extremely widely practiced, but survives much less well than the other main materials such as stone and bronze, as it is vulnerable to decay, insect damage, and fire. It therefore forms an important hidden element in the art history of many cultures.
The main difficulty with wood carving is that it requires specialized tools and skills. For example, the splitting process requires special wedges and chisels to obtain neat edges for splitting into sections. Sanding requires sandpaper which can be expensive depending on your project size. Additionally, you need a method for drying your wood which can take weeks to complete depending on your climate conditions (damp versus dry).

